To sell on WooCommerce, you need to add products, and you just need a product name and a price to begin. On this page, you’ll learn how to add the various types of core WooCommerce products.
Adding a simple product
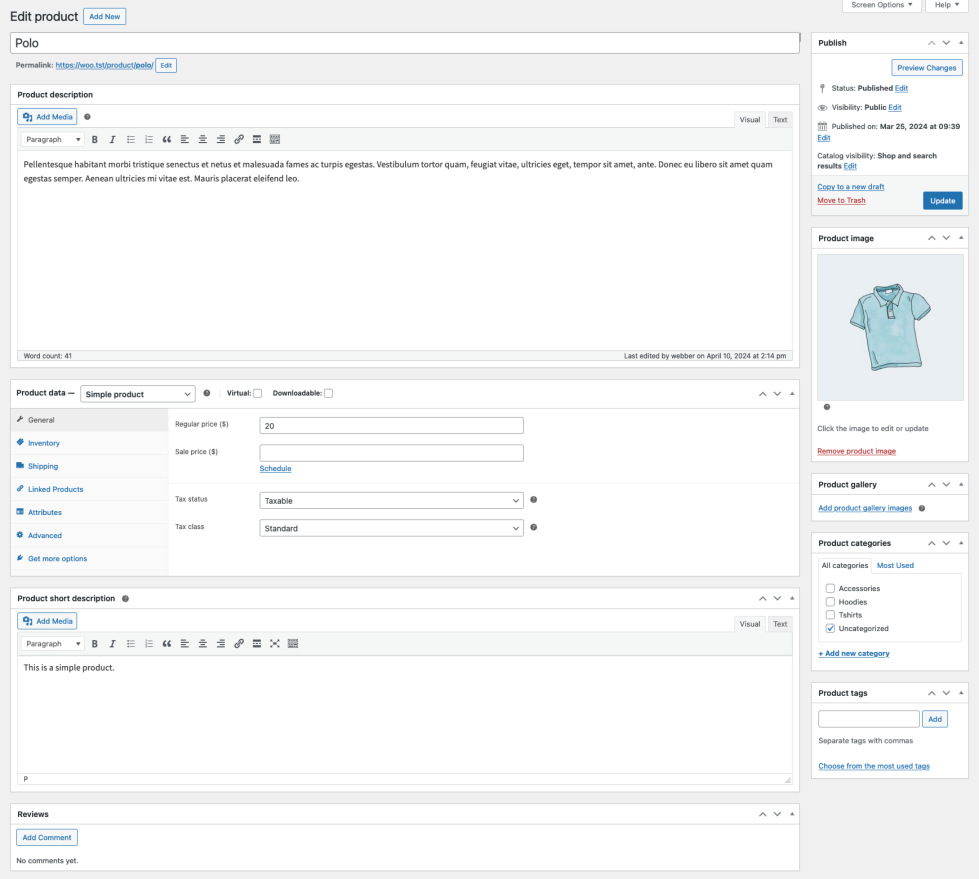
Let’s add a Simple product. You’ll need:
- Product name
- Product’s regular price
- Product image (from your Media Library)
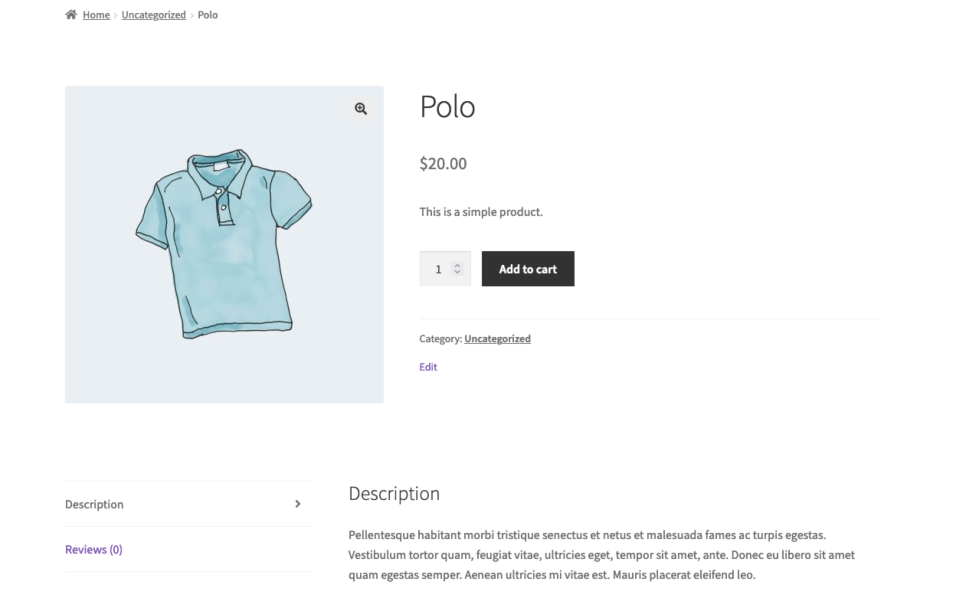
The following example results in a basic product listing, without a description, assigned to the default “Uncategorized” product category:
- Go to WooCommerce > Products > Add Product.
- Enter a Product name.
- In the Product data > General section, the Product type should default to Simple product.
- Enter an amount in the Regular WooCommerce pricing field.
- In the Product image panel in the right-hand column, click the Set product image link.
- Select the image you want to use and click the Set product image button.
- Click the Publish button in the Publish panel.
- Click the View product link at the top of the screen to view the newly created product.


Adding a Grouped product
Grouped products are used to list several different products together on one product page. Shoppers can add as many of the listed products as they like from the Grouped product page to their cart all at once. Grouped products do not have their own prices or stock numbers since they are essentially lists of other products in your shop.
Adding a Grouped product works in two steps:
- Create the Grouped product.
- Add products to the group.
Create the Grouped product
- Go to WooCommerce > Products > Add New.
- Enter a Title for the Grouped product, e.g., Back to School set.
- Scroll down to the Product Data panel and select Grouped product from the dropdown. The price and several other fields disappear. This is normal because a Grouped Product is a collection of other products that already contain this information.
- Click the Publish button in the Publish panel (or move on to adding products to the group before publishing).

Add products to the Group
After creating a Grouped product, and until you add products to it, it is just an empty group.
To complete the Grouped product, you need to:
- Create products to add to the Grouped Product (if they don’t exist already).
- Add existing products to the group.
You have the flexibility to build a Grouped product in the order you prefer by having the choice to either first create Simple products and add them to a Grouped product later, or first create a Grouped product and add Simple products later. You can also add the same products to more than one Grouped product in WooCommerce.

To add existing products to your Grouped product:
- Go to WooCommerce > Products > All Products.
- Edit the Grouped product you wish to add products to (or select Add New to create a new Grouped product)
- Scroll down to Product data and click the Linked Products section.
- Select Grouped products field, and search for the product by typing.
- Click the products you wish to add.
- You can drag and drop to reorder the Grouped products. The new order will be shown on the product page once you click Update.
- In the Publish panel, click the Update (or Publish) button.
Grouped products are just one of many ways to bundle products together for sale in WooCommerce. For more details about other options, see our documentation on How to Bundle Products with WooCommerce.
Adding an external/affiliate product
Select External/Affiliate product from the Product type dropdown. This changes the Product data panel a bit. It first removes the shipping section from the left side and then adds two new fields in the General section; the Product URL and Button text fields. The Product URL field is the destination where users can purchase this product. Then the Button text lets you change the normal Add to cart button text to your preferred text.

Adding a variable product
Variable products are one of the more complex product types. They let you use product attributes to define different product variations. Each variation may have distinct product data including SKU, image, price, stock level, and more. See our Variable Product docs for a detailed guide on creating a product with variations. WooCommerce is free. WooCommerce support is available.
How useful was this post?
Click on a star to rate it!
Average rating 0 / 5. Vote count: 0
No votes so far! Be the first to rate this post.
Author
-

Meet Anthony Ernst, the creative force behind ThreeSphere. With a passion for art and a knack for business, Anthony is a multi-talented entrepreneur who wears many hats. As the owner of ThreeSphere, he combines his expertise in web development with his artistic vision to craft stunning and functional websites for clients.
View all posts


